AWS Cognito which is used for authentication and authorization features Hosted UIs for Cognito User Pool. {% post zachjonesnoel/modern-apps-going-cognito-1o77 %} Previously in my post about Modern apps going Cognito, had provided different ways to get started with Cognito User Pool integration on client applications. Where it was mentioned that, Hosted UIs helps speeding up application integration. And we will deep dive into Hosted UIs in this post.
Key takeaways from the blog -
- Setting up Hosted UIs on AWS Cognito User Pool.
- Hosted UIs supported workflows.
- Customization of Hosted UIs.
- Options with Hosted UI URLs.
Setting up Hosted UIs on AWS Cognito User Pool
In this blog, the Cognito User Pool is already created and available to setup Hosted UI. To create one, you can refer to the mentioned post Modern apps going Cognito.
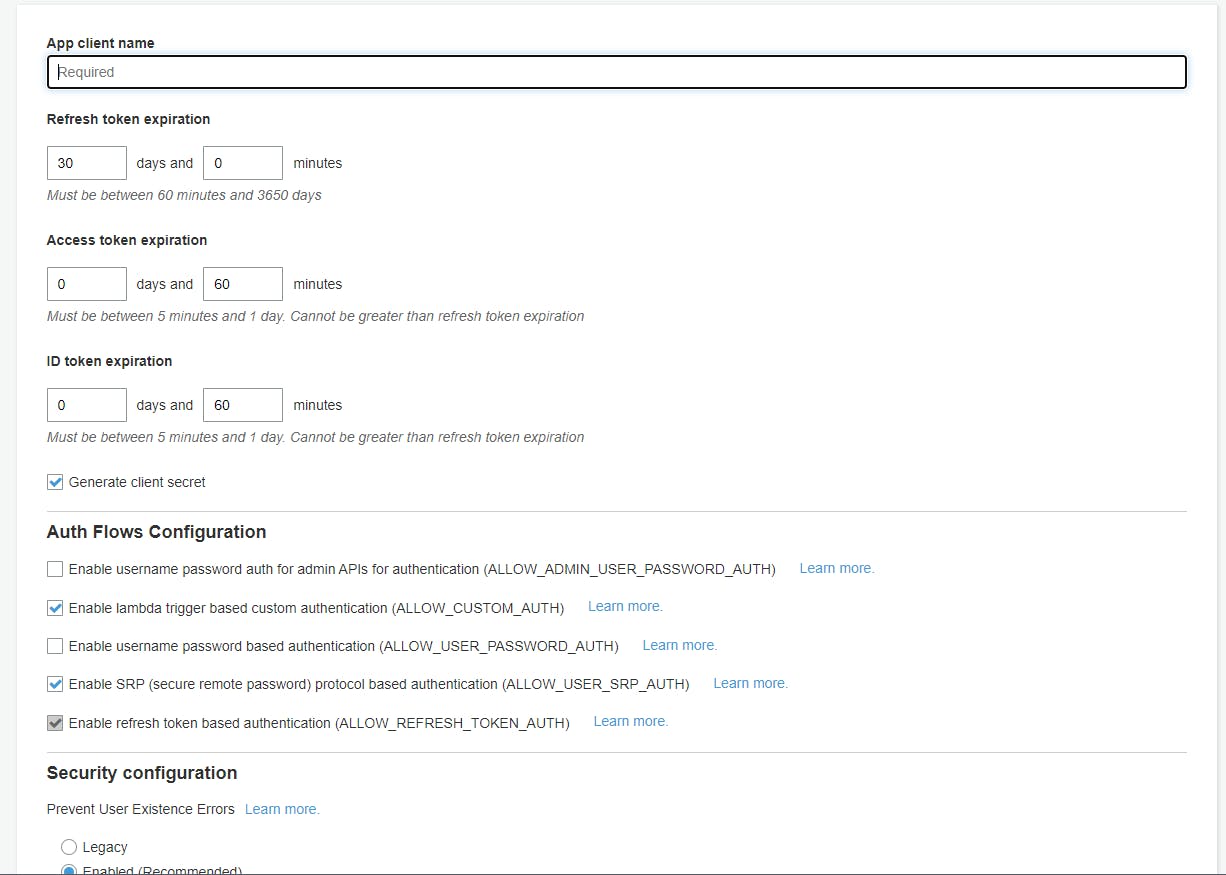
- Step 1 : Setup a app client in the created Cognito User Pool by navigating to the App client menu in the Cognito User Pool details screen. To create a app client, provide a unique app name (the name has to be unique in the User Pool). And for the app client, you can set the token expiry/refresh time-out periods.
- Step 2 : Setting up domain on Cognito User Pool, this can be done from the Domain name menu under App integration.
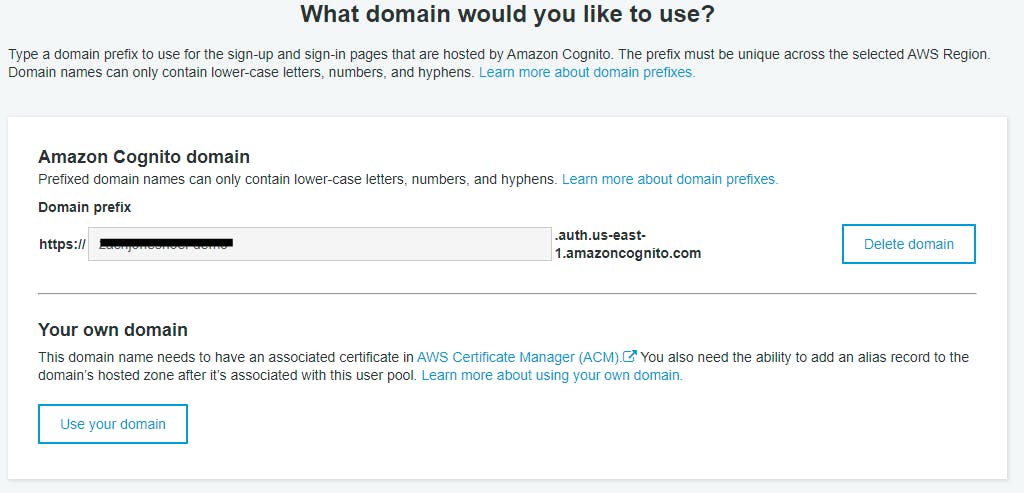 Types of domains supported - Amazon Cognito Domain and Custom domains. Amazon Cognito Domain are the default domain name generated by Cogntio where you can choose a domain prefix (this domain prefix has to be unique across all Amazon domains), this has the format -
 https://<domain-name>.auth.<aws-region>.amazoncognito.comCustom domains have to verified domains with equivalent certificated on AWS Certificate Manager (ACM). - Step 3 : Setup app-client settings by navigating to the App client settings menu under App integration. Select the created app client in step 1.
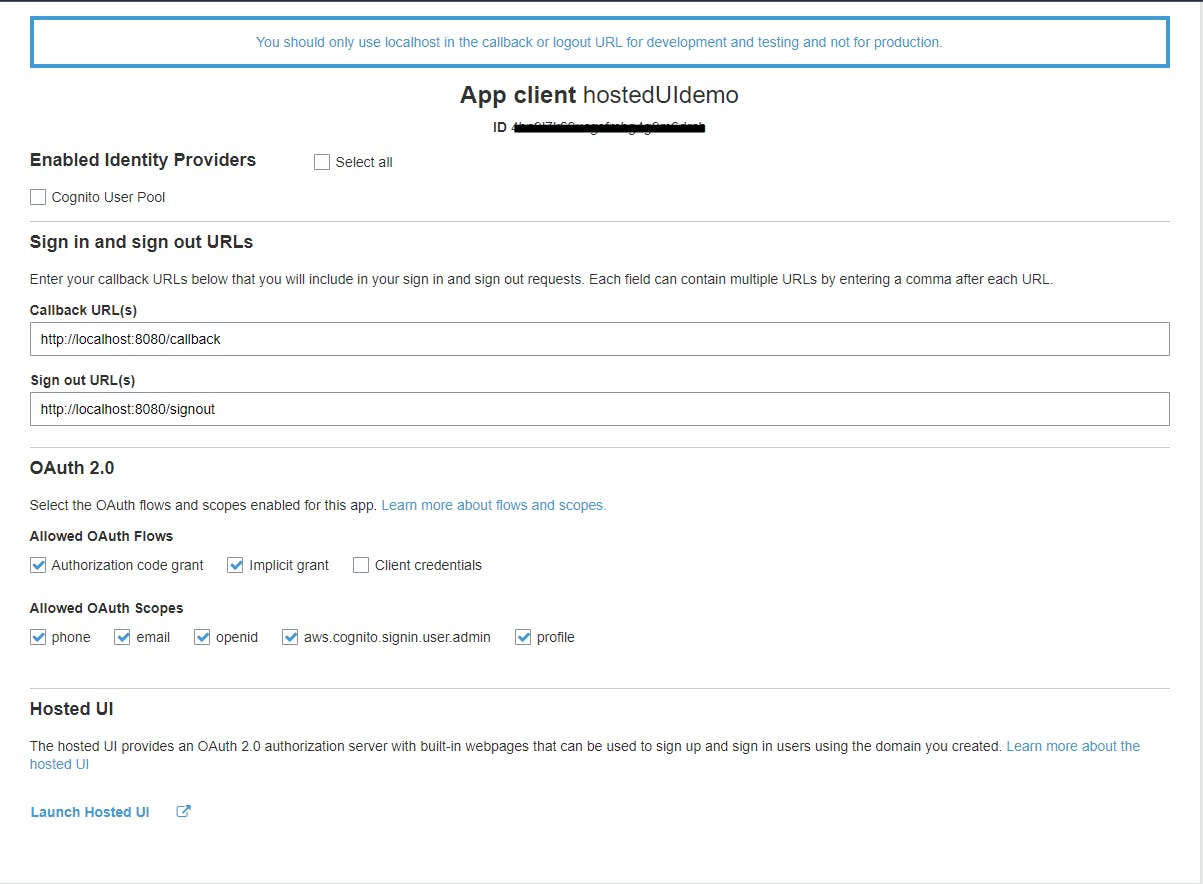 In this step you would have to provide re-directional links to your app after sign-in and sign-out (these URLs can be comma separated). In this demo, I would be using a web-app on localhost but the production ready applications should use production URLs. For Hosted UIs, the app-client should use a OAuth 2.0 workflow and should have a domain verified on Cognito User Pool. And if OAuth and domain constraints are satisfied, you will see a Launch Hosted UI hyperlink, on click it will open the authentication Hosted UI on a new tab.
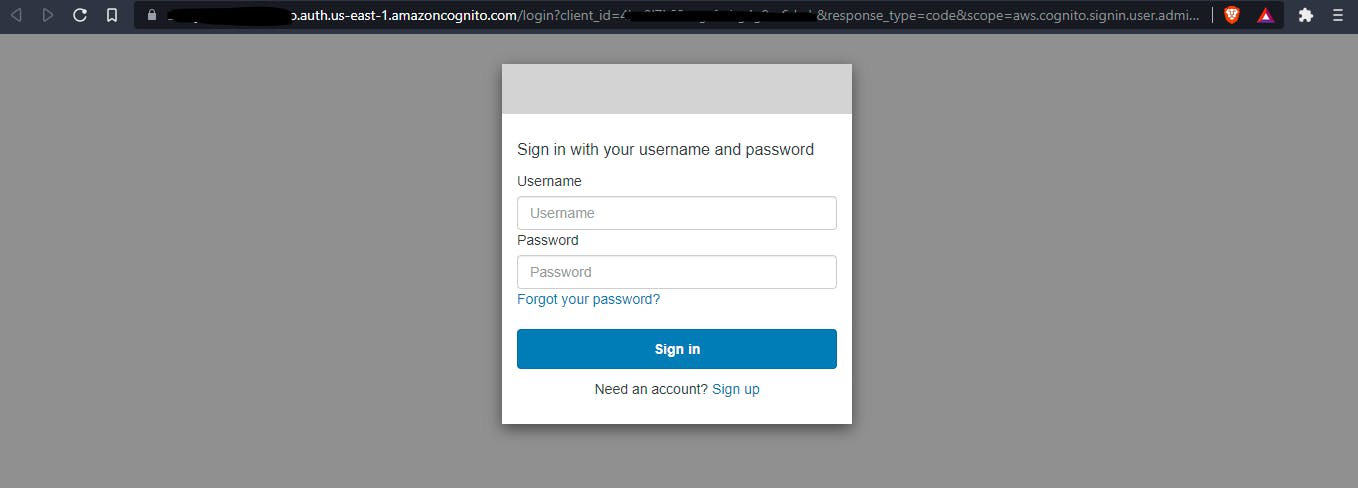 And you can use the URL available in the browser to add to your application.
Hosted UIs supported workflows
Hosted UI supports the standard workflows provided by Cogntio User Pool -
- Sign-in : The standard workflow for sign-in to AWS Cognito User Pool. This uses the Cognito's configuration of the email/mobile number with password.
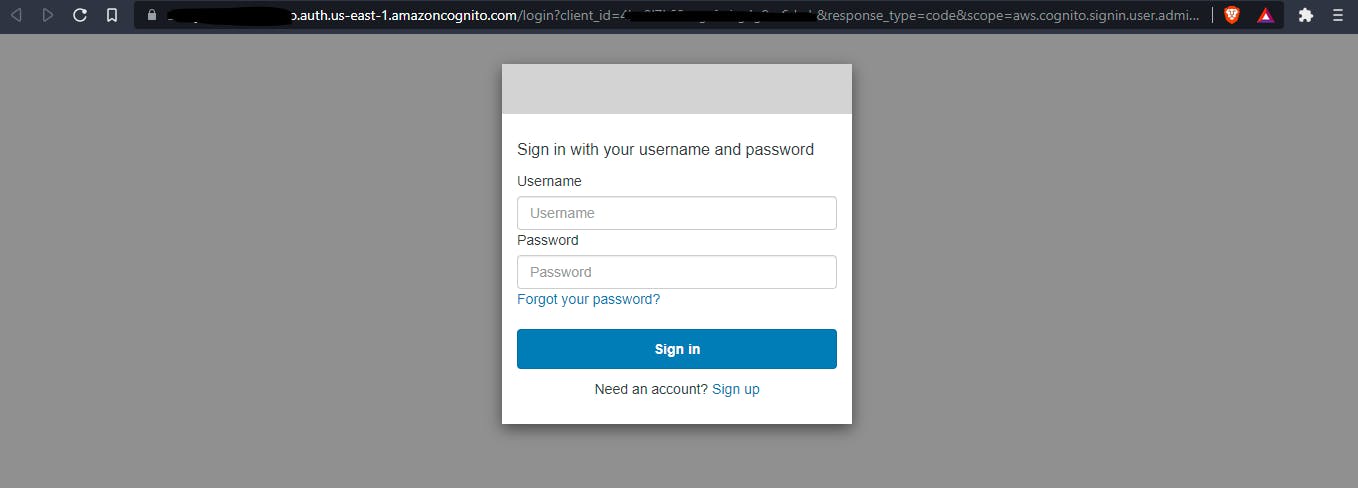
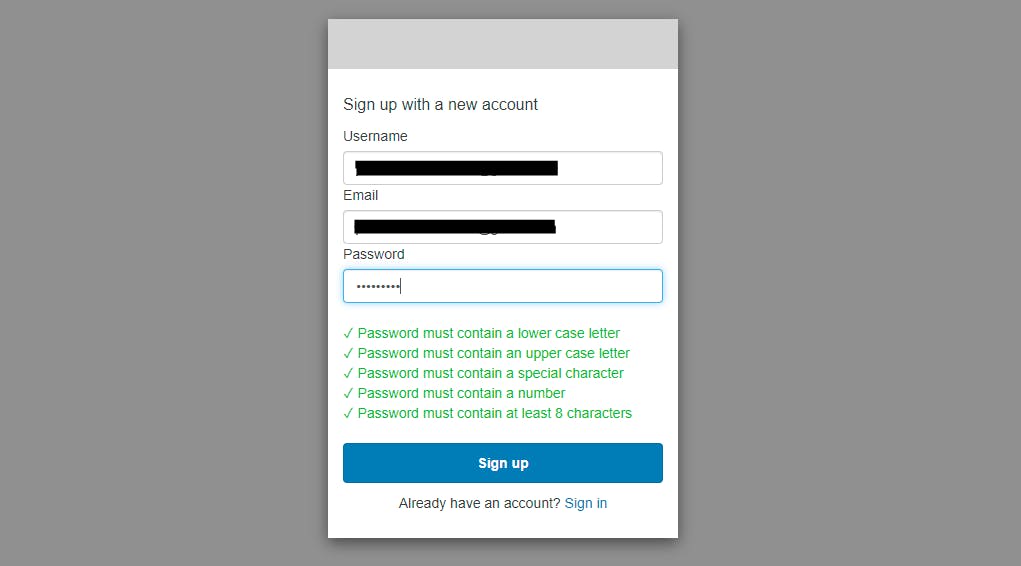
- Sign-up : For the self-sign-up process, the Hosted UIs take minimal information such as username, email/mobile number (based on the Cognito User Pool configuration), password. Which also validates on the password policy set in Cognito User Pool.
 Once signed-up, the user has to be verified for that the confirmation workflow also is available.
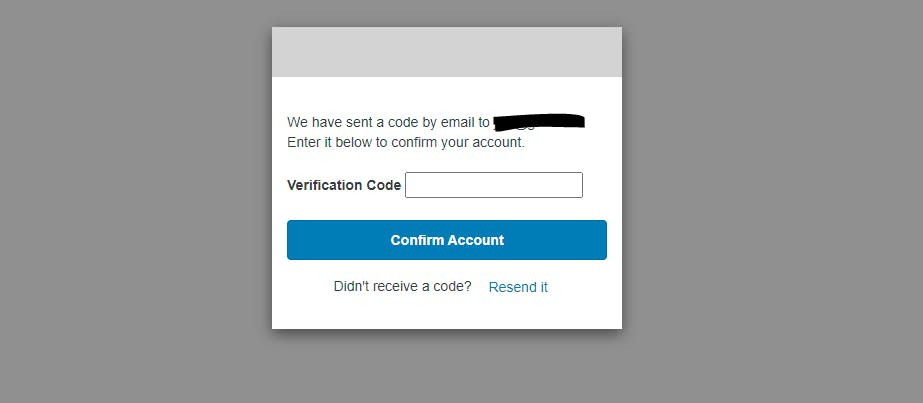
- Forgot password : The another standard authentication workflow supported is forgot password.
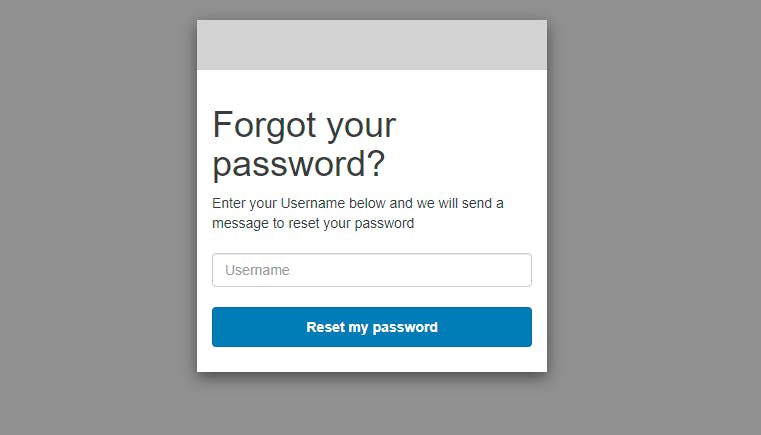 This also requires a verification so a confirmation code is sent to the registered username.
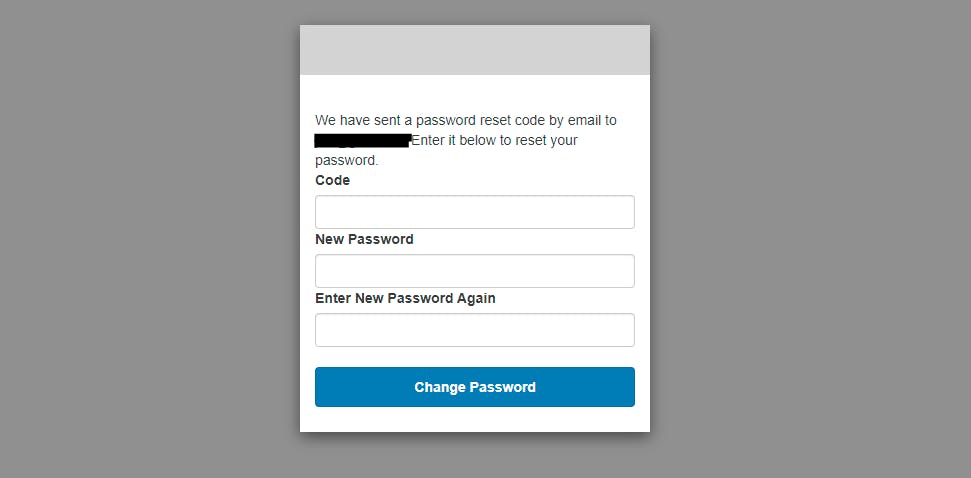
All of the mentioned workflows are the standard workflows supported natively on Cogntio User Pool, but Hosted UIs are currently not supporting Custom Auth Flows as of now.
Customization of Hosted UIs
Similar to Amplify UI Components, the hosted UIs can also be customized. The customization is limited to adding a logo and other CSS customization with various classes of fields - labels, input fields, error messages, background and many more.
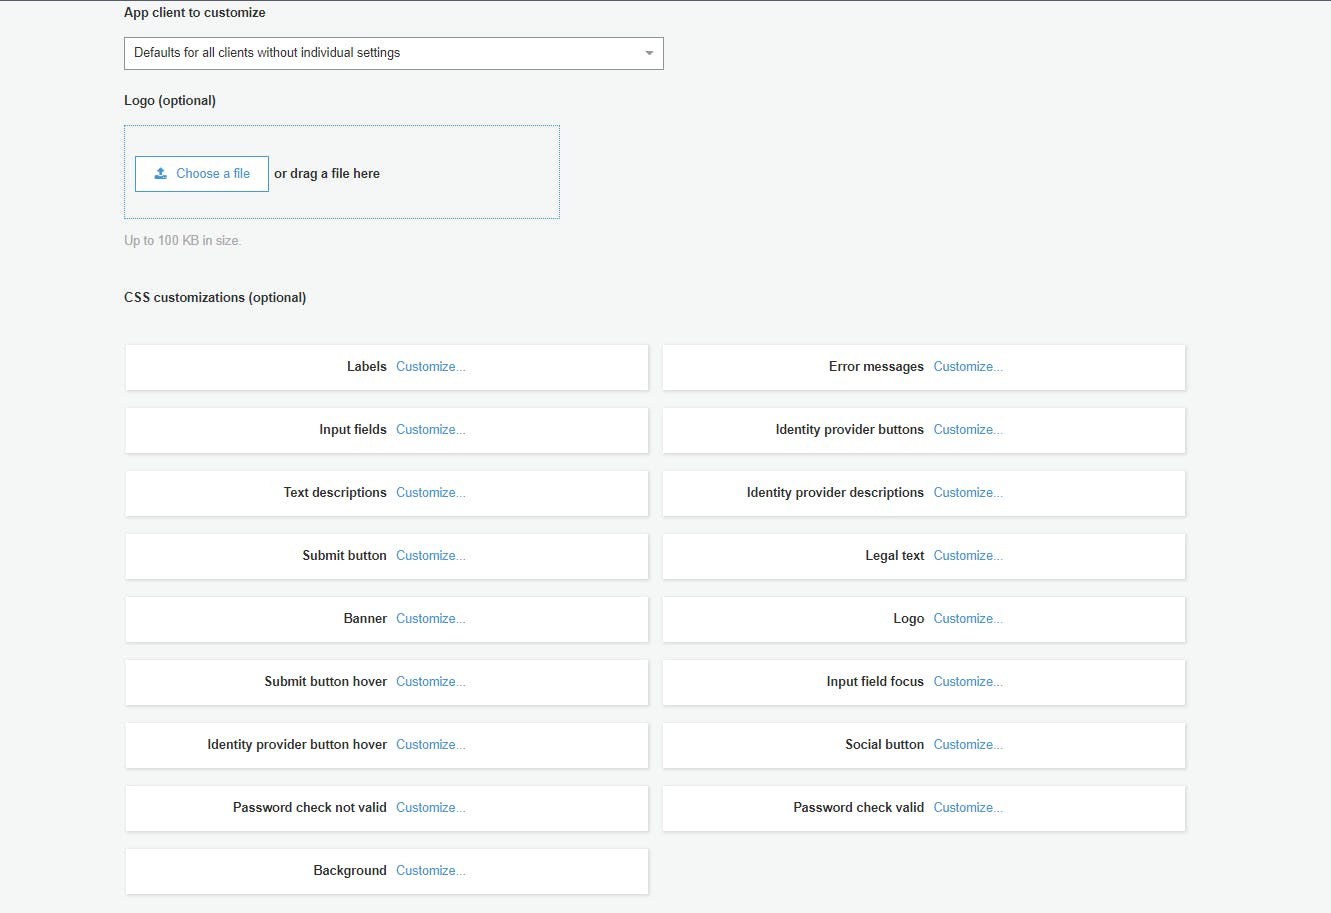 With some of the customization on certain properties, the sign-in screen now looks like -
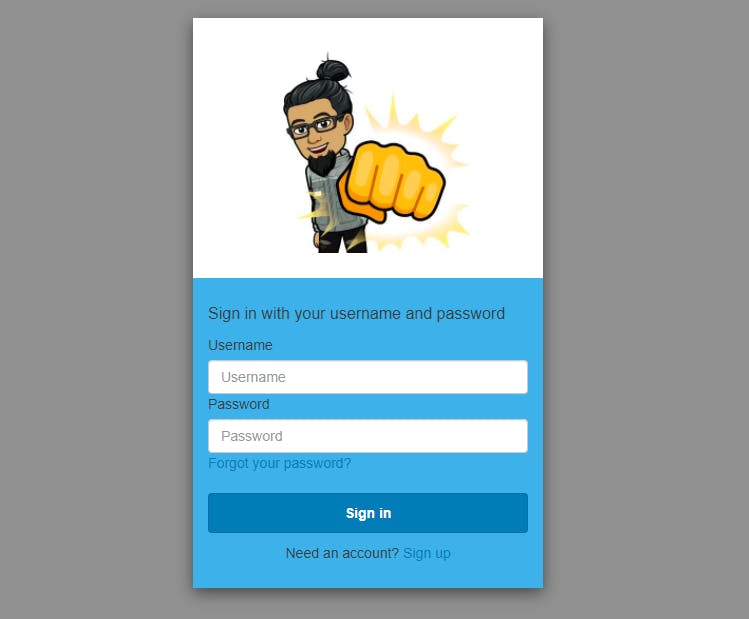 (P.S. Didn't have a logo so used a emoticon.)
Options with Hosted UI URLs
The Hosted UI URLs are based on the domain which was selected. With the URL, there are certain URL parameters which will help you integrate the right way.
Basic format of Hosted UI URLs - <domain-name>/<url-action>?client_id=<client-id-value>&response_type=<response_type>&scope=<selected-scope>&redirect_uri=<callback-url-selected>
Parameters -
<domain-name>- The selected and verified domain name. This can be the Amazon Cognito Domain or Custom domain whichever has been configured for the Cogntio Pool. If it is a Amazon Cognito Domain, it would be in then the formathttps://<domain-name>.auth.<aws-region>.amazoncognito.com/with<domain-name>being the domain prefix selected in Step 2 and<aws-region>being AWS region where the Cognito User Pool is created.<url-action>- The URL action based on the type of workflow, Eg. login, forgotpassword, sign-up.<client-id-value>- The selected app client's ID which has Hosted UI enabled.<response_type>- The type of response expected, Eg. code, token. If a code response is requested, the unique code is returned as a URL parameter in the callback URL. .https://www.example.com/#code=123456789code123456789If token, then in the callback URL the bearer token along with expiry time is returned.https://www.example.com/#id_token=123456789tokens123456789&expires_in=3600&token_type=Bearer<callback-url-selected>- In App client settings, you can have multiple callback URLs configured with comma separated (Eg. dev.to, google.com, zachjonesnoel.com) and whenever using the Hosted UI, one of the configured callback URLs can be used asredirect_uri.
Conclusion
AWS Cognito User Pool's Hosted UIs helps setting up authentication workflows in minutes and the ease of integration on the client-apps helps in speeding up the application development process. This is a pure no-code approach to get started with a fully-functional authentication module for your web or mobile application. Hosted UIs provides the feasibility to customize your UIs to match to your application theme.

